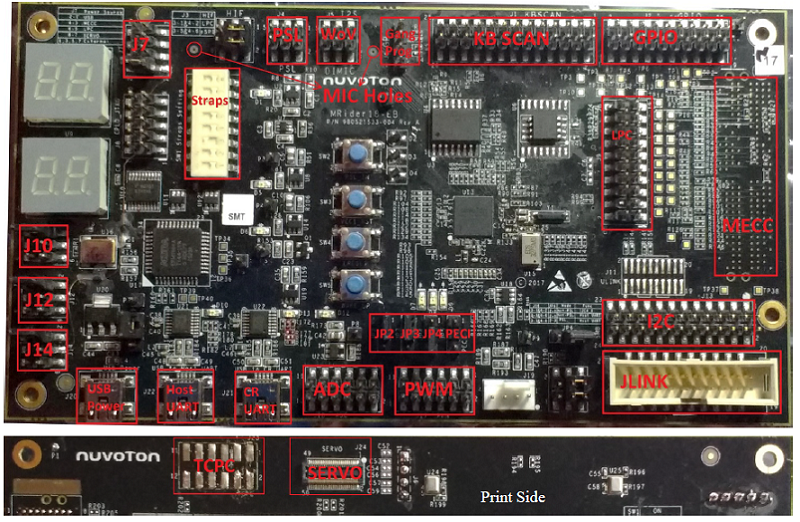
NPCX9M6F_EVB
Overview
The NPCX9M6F_EVB kit is a development platform to evaluate the Nuvoton NPCX9 series microcontrollers. This board needs to be mated with part number NPCX996F.

Hardware
ARM Cortex-M4F Processor
256 KB RAM and 64 KB boot ROM
ADC & GPIO headers
UART0 and UART1
FAN PWM interface
Jtag interface
Intel Modular Embedded Controller Card (MECC) headers
Supported Features
The following features are supported:
Interface |
Controller |
Driver/Component |
|---|---|---|
NVIC |
on-chip |
nested vector interrupt controller |
ADC |
on-chip |
adc controller |
CLOCK |
on-chip |
reset and clock control |
GPIO |
on-chip |
gpio |
I2C |
on-chip |
i2c port/controller |
PINMUX |
on-chip |
pinmux |
PM |
on-chip |
power management |
PSL |
on-chip |
power switch logic |
PWM |
on-chip |
pulse width modulator |
TACH |
on-chip |
tachometer sensor |
UART |
on-chip |
serial port-polling; serial port-interrupt |
WDT |
on-chip |
watchdog |
Other hardware features are not currently supported by Zephyr (at the moment)
The default configuration can be found in the defconfig file:
boards/arm/npcx9m6f_evb/npcx9m6f_evb_defconfig
Connections and IOs
Nuvoton to provide the schematic for this board.
System Clock
The NPCX9M6F MCU is configured to use the 90Mhz internal oscillator with the on-chip PLL to generate a resulting EC clock rate of 15 MHz. See Processor clock control register (chapter 4 in user manual)
Serial Port
UART1 is configured for serial logs.
Programming and Debugging
This board comes with a Cortex ETM port which facilitates tracing and debugging using a single physical connection. In addition, it comes with sockets for JTAG-only sessions.
Flashing
Build application as usual for the npcx9m6f_evb board, and flash
using Servo V2, μServo, or Servo V4 (CCD). See the
Chromium EC Flashing Documentation 1 for more information.
Debugging
Use JTAG/SWD with a J-Link