ODROID-GO
Overview
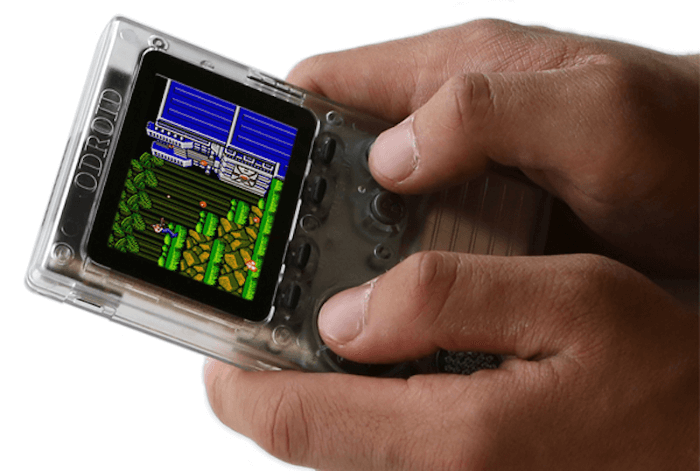
ODROID-GO Game Kit is a “Do it yourself” (“DIY”) portable game console by HardKernel. It features a custom ESP32-WROVER with 16 MB flash and it operates from 80 MHz - 240 MHz 1.
The features include the following:
Dual core Xtensa microprocessor (LX6), running at 80 - 240MHz
4 MB of PSRAM
802.11b/g/n/e/i
Bluetooth v4.2 BR/EDR and BLE
2.4 inch 320x240 TFT LCD
Speaker
Micro SD card slot
Micro USB port (battery charging and USB_UART data communication
Input Buttons (Menu, Volume, Select, Start, A, B, Direction Pad)
Expansion port (I2C, GPIO, SPI)
Cryptographic hardware acceleration (RNG, ECC, RSA, SHA-2, AES)
ODROID-Go Game Kit
External Connector
PIN # |
Signal Name |
ESP32-WROVER Functions |
|---|---|---|
1 |
GND |
GND |
2 |
VSPI.SCK (IO18) |
GPIO18, VSPICLK |
3 |
IO12 |
GPIO12 |
4 |
IO15 |
GPIO15, ADC2_CH3 |
5 |
IO4 |
GPIO4, ADC2_CH0 |
6 |
P3V3 |
3.3 V |
7 |
VSPI.MISO (IO19) |
GPIO19, VSPIQ |
8 |
VSPI.MOSI (IO23) |
GPIO23, VSPID |
9 |
N.C |
N/A |
10 |
VBUS |
USB VBUS (5V) |
Supported Features
The Zephyr odroid_go board configuration supports the following hardware features:
Interface |
Controller |
Driver/Component |
|---|---|---|
UART |
on-chip |
serial port |
GPIO |
on-chip |
gpio |
PINMUX |
on-chip |
pinmux |
I2C |
on-chip |
i2c |
Programming
Two components are required in order to build applications for this board: the toolchain 2 and the SDK 3. Both are provided by the SoC manufacturer.
The SDK contains headers and a hardware abstraction layer library (provided only as object files) that are required for the port to function.
The toolchain is available for Linux, Windows, and macOS hosts and instructions to obtain and set them up are available in the ESP-IDF repository, as explained in the ESP-IDF Programming Guide.
Set up build environment
With both the toolchain and SDK installed, the Zephyr build system must be instructed to use this particular variant by setting the following shell variables:
export ZEPHYR_TOOLCHAIN_VARIANT="espressif"
export ESPRESSIF_TOOLCHAIN_PATH="/path/to/xtensa-esp32-elf/"
Flashing
The usual flash target will work with the odroid_go board configuration.
Here is an example for the Hello World application.
# From the root of the zephyr repository
west build -b odroid_go samples/hello_world -- -DESP_IDF_PATH=/path/to/esp-idf/
Refer to Building an Application and Run an Application for more details.
All flashing options are handled by the West (Zephyr’s meta-tool) tool, including flashing
with custom options such as a different serial port. The west tool supports
specific options for the ESP32 board, as listed here:
- --esp-idf-path ESP_IDF_PATH
path to ESP-IDF
- --esp-device ESP_DEVICE
serial port to flash, default /dev/ttyUSB0
- --esp-baud-rate ESP_BAUD_RATE
serial baud rate, default 921600
- --esp-flash-size ESP_FLASH_SIZE
flash size, default “detect”
- --esp-flash-freq ESP_FLASH_FREQ
flash frequency, default “40m”
- --esp-flash-mode ESP_FLASH_MODE
flash mode, default “dio”
- --esp-tool ESP_TOOL
complete path to espidf, default is to search for it in [ESP_IDF_PATH]/components/esptool_py/esptool/esptool.py
- --esp-flash-bootloader ESP_FLASH_BOOTLOADER
Bootloader image to flash
- --esp-flash-partition_table ESP_FLASH_PARTITION_TABLE
Partition table to flash
For example, to flash to /dev/ttyUSB0, use the following command after
having build the application in the build directory:
west flash -d build/ --skip-rebuild --esp-tool=/path/to/esp-idf/components/esptool_py/esptool/esptool.py --esp-device /dev/ttyUSB0
Connect ODROID-GO to your PC via the mini USB port and run your favorite terminal program to listen for output.
minicom -D /dev/ttyUSB0 -b 115200
Power off and then power on ODROID-GO. You should see the following message in your terminal:
Hello World! odroid_go